-
MenuBack
-
Products
-
-
Products
-
Test
-
-
-
Brand's Original Products
-
Crazy Fly
-
Core
-
Duotone
-
F-One
-
FreeWing
-
Naish
-
North
-
Ozone
-
Slingshot
-
-
-
Shop Categories
-
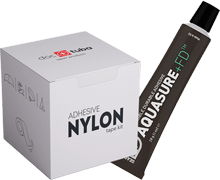
Repair Tapes & Glues
-
Replacement Bladders
-
Bladder Blanks
-
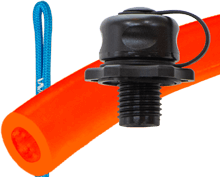
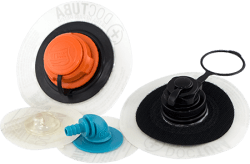
Adhesive Valves
-
Valve Spare Parts, Hoses
-
Lines & Parts
-
Pulleys, Rings & Safety Parts
-
Other Spare Parts & Accessories
-
-
-
Bladders & Valves
-
-
Replacement Bladders
-
5 Year Inflatable Bladders Warranty
-
StickIT! System vs. Replacement Bladders
-
Tips & Tricks on Installing Bladders
-
-
Adhesive Valves
-
Universal Valve Solutions
-
Valve Spare Parts, Hoses
-
-
Services & Support
-
-
Services
-
Gear Repair Form
-
Design Services
-
-
-
Tips & Tricks, Guides
-
Design Services
-
-
Our Team
-
-
About Us
-
Become Our Retailer
-
- Shop
-
acc4 Account
-
-
Shopping Cart
Back to shopCart is empty.
- search1
- cart80
Repair products.


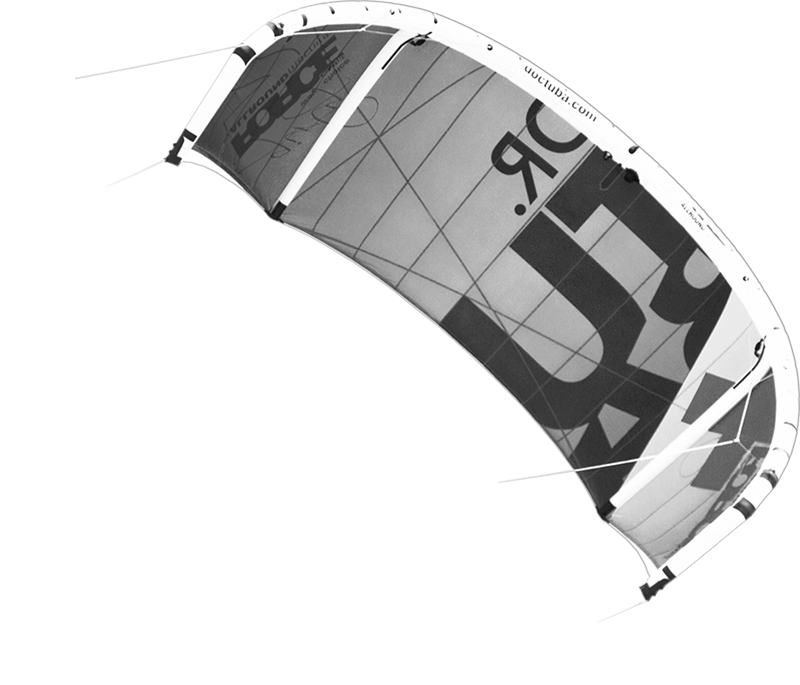
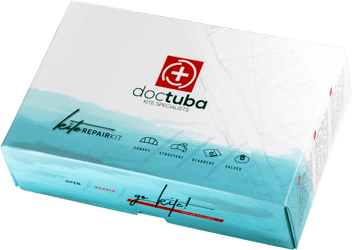
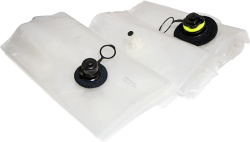
Replacement Bladders - Inflatable replacement bladders for kites, wings, tents and many other inflatable products. Premium German quality with 5 years warranty, fast production times. Repair & Refill Kits - Easy to repair your gear with carefully selected kits. Do not waste your session or event due to delaminated valve or tear in your gear never again! Adhesive Valves - We stock 50000+ all kinds of valves used on bladders. We HF weld the valves to ensure the best & long term bond. Many Other Spares - Repair tapes, Glues, Kiteboarding lines, Kite Pulleys, Rings, One Pump Parts and many other spare parts available in our eShop.
Valve search
Bladder search

You break... We fix!
Professional Kite, Wing & Tent repair service. There is no tear we can't repair.
Top materials
Unvisible Repairs
Quality Service
Fast Service
Read more...


...and many more! We stock many parts for world's top brands.
Shopping Cart
Back to shopCart is empty.
Account
-
MenuBack
-
Products
-
-
Products
-
Test
-
-
-
Brand's Original Products
-
Crazy Fly
-
Core
-
Duotone
-
F-One
-
FreeWing
-
Naish
-
North
-
Ozone
-
Slingshot
-
-
-
Shop Categories
-
Repair Tapes & Glues
-
Replacement Bladders
-
Bladder Blanks
-
Adhesive Valves
-
Valve Spare Parts, Hoses
-
Lines & Parts
-
Pulleys, Rings & Safety Parts
-
Other Spare Parts & Accessories
-
-
-
Bladders & Valves
-
-
Replacement Bladders
-
5 Year Inflatable Bladders Warranty
-
StickIT! System vs. Replacement Bladders
-
Tips & Tricks on Installing Bladders
-
-
Adhesive Valves
-
Universal Valve Solutions
-
Valve Spare Parts, Hoses
-
-
Services & Support
-
-
Services
-
Gear Repair Form
-
Design Services
-
-
-
Tips & Tricks, Guides
-
Design Services
-
-
Our Team
-
-
About Us
-
Become Our Retailer
-
- Shop